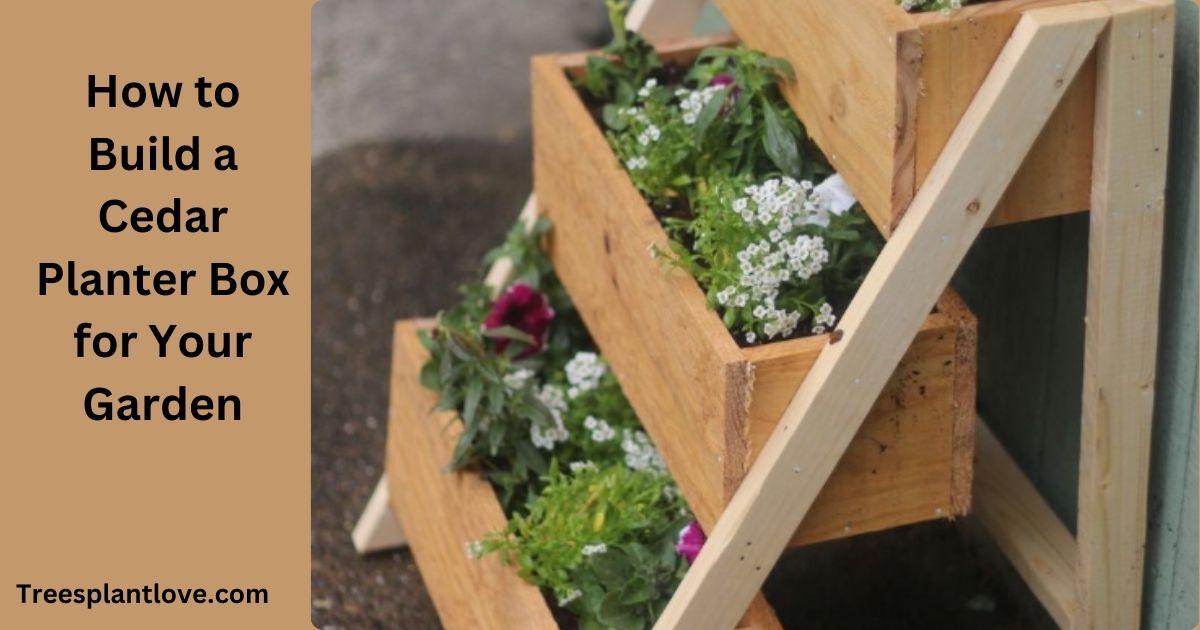
How to Build a Cedar Planter Box for Your Garden: Simple DIY Guide
How to Build a Cedar Planter Box for Your Garden: A cedar planter box is an excellent addition to any garden. Not only does it provide a stylish and functional way to grow plants, but it also offers durability and natural resistance to the elements.
Cedar wood is known for its ability to withstand moisture, pests, and decay, making it ideal for outdoor gardening. If you’re looking to build your own cedar planter box, follow these simple steps to create a beautiful and long-lasting piece for your garden.
Materials You’ll Need:
Before you start building your cedar planter box, gather the following materials:
- Cedar boards (1-inch thick)
- Wood screws (3-inch)
- Drill with screw bits
- Saw (hand saw or circular saw)
- Measuring tape
- Carpenter’s square
- Sandpaper (optional)
- Wood glue (optional)
- Outdoor wood sealant (optional)
- Landscape fabric (optional, for drainage)
Step 1: Plan and Measure Your Box
The first step in building a cedar planter box is to determine the size of the box you want to build. Consider what plants you plan to grow, as this will help you decide the appropriate dimensions for the box. A standard size for a rectangular box is 4 feet long, 1 foot wide, and 1 foot deep, but you can customize the dimensions based on your available space and garden needs.
Using your measuring tape and carpenter’s square, mark the cedar boards to the appropriate lengths. You’ll need:
- Two long pieces (for the length of the box)
- Two short pieces (for the width of the box)
- A bottom piece (optional, depending on your design)
Step 2: Cut the Cedar Wood
Once you have your measurements, carefully cut the cedar boards using a saw. If you’re using a hand saw, make sure to follow the lines precisely to ensure the pieces fit together well. If you have a circular saw, this will speed up the process. Remember, accuracy is key to making sure your planter box fits together snugly.
Step 3: Assemble the Sides
Start by attaching the long pieces of cedar to the short pieces to form the sides of your planter box. Use wood screws to secure the corners of the box. To ensure your planter box is square, place the carpenter’s square at the corners before driving in the screws. If you’d like added strength and a more secure hold, you can apply a small amount of wood glue at the joints before screwing the boards together.
Step 4: Attach the Bottom of the Planter Box
Next, you can add the bottom of the planter box. For added drainage, you can either use slats of cedar that are spaced slightly apart or a solid piece of cedar, depending on your preference. If you want extra drainage, consider lining the bottom of the box with landscape fabric before adding soil. This helps prevent soil from washing out and allows water to drain freely.
Attach the bottom of the planter box by aligning it with the edges and securing it with screws. If you’re using slats, make sure the gaps are wide enough to allow for proper water drainage.
Step 5: Sand the Edges (Optional)
After the box is assembled, it’s a good idea to smooth out any rough edges or splinters with sandpaper. This will help prevent injury and give the planter a finished, polished look. Cedar naturally has a pleasant aroma and a smooth texture, but sanding ensures that the box feels comfortable to handle.
Step 6: Apply Wood Sealant (Optional)
Cedar is naturally resistant to rot and pests, but applying an outdoor wood sealant can help extend the lifespan of your planter box. Sealant protects the wood from moisture, sunlight, and the elements, keeping it looking beautiful for years to come. Be sure to choose a non-toxic sealant if you plan on growing edible plants in the box.
Use a paintbrush to apply the sealant evenly across all surfaces of the box, and allow it to dry completely before moving on to the next step.
Step 7: Place the Planter Box in Your Garden
Now that your cedar planter box is built and finished, it’s time to place it in your garden. Consider the amount of sunlight your plants need before deciding where to position the box. Some plants require full sun, while others do best in partial shade, so choose a spot that meets the needs of the plants you intend to grow.
Ensure the location provides good drainage, and if your garden area tends to retain water, consider placing the box on a slightly elevated surface to prevent water from pooling underneath.
Step 8: Add Soil and Plants
Finally, it’s time to fill your cedar planter box with soil. Use a good-quality potting mix that is suitable for the plants you plan to grow. If you’re growing vegetables or herbs, make sure the soil is rich in nutrients. For flowers or decorative plants, a general-purpose mix will work well.
Once the soil is in place, plant your chosen plants and water them thoroughly. Be sure to follow proper care instructions for each plant to ensure they thrive in their new cedar planter box.
Final Thoughts
Building a cedar planter box is a simple and rewarding DIY project that adds both functionality and charm to your garden. Cedar wood’s natural resistance to decay and insects makes it an ideal choice for outdoor planters. With a little time, effort, and the right materials, you can create a beautiful and durable planter box that will help your plants flourish for seasons to come.
Whether you are a seasoned gardener or just starting out, this cedar planter box will provide you with the perfect space to grow a variety of plants while enhancing your garden’s aesthetic. Happy gardening!

Leave a Reply