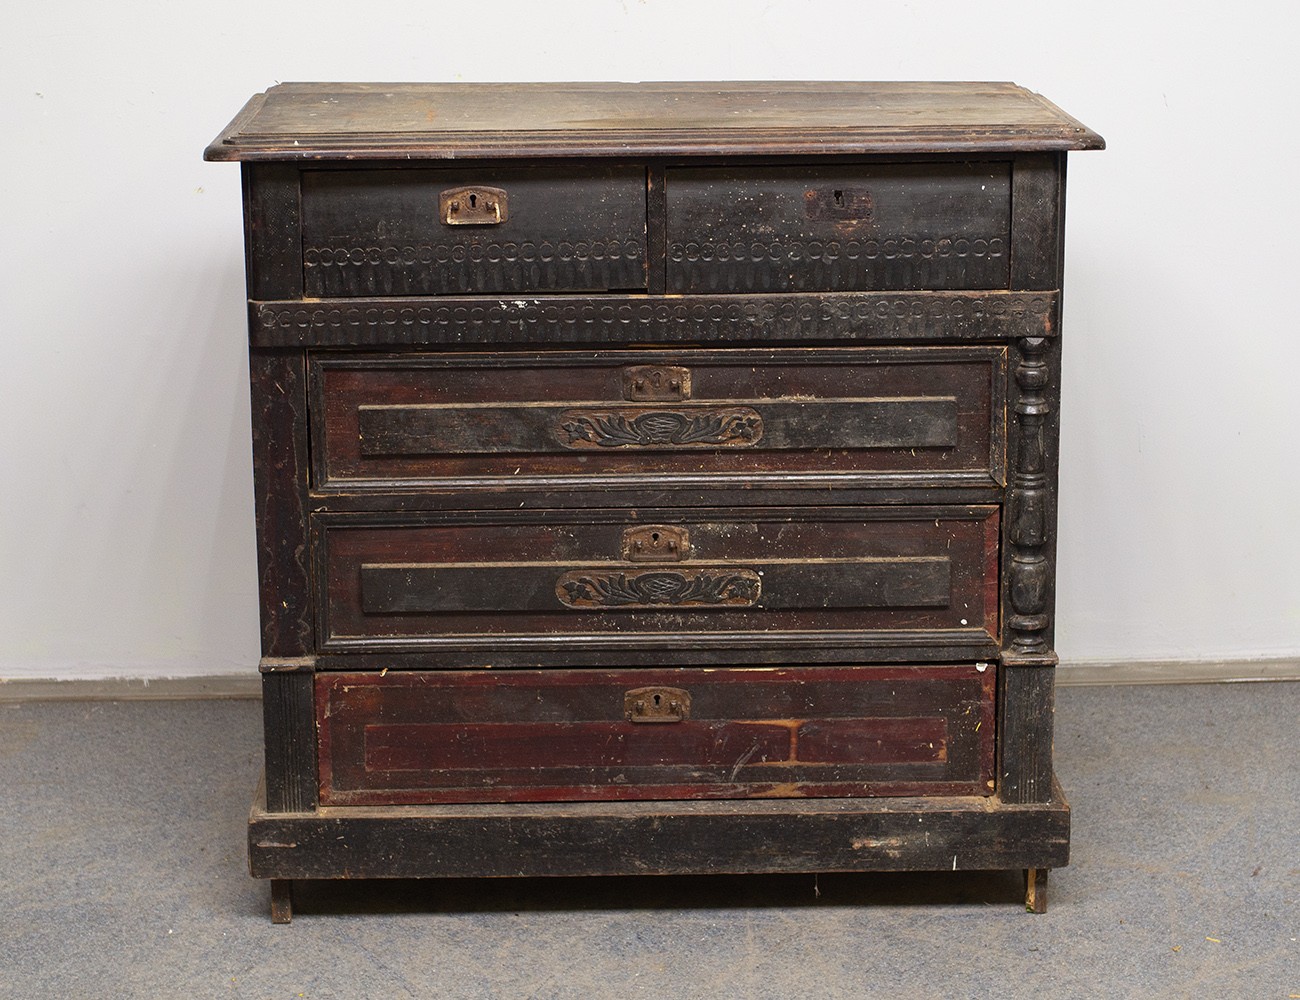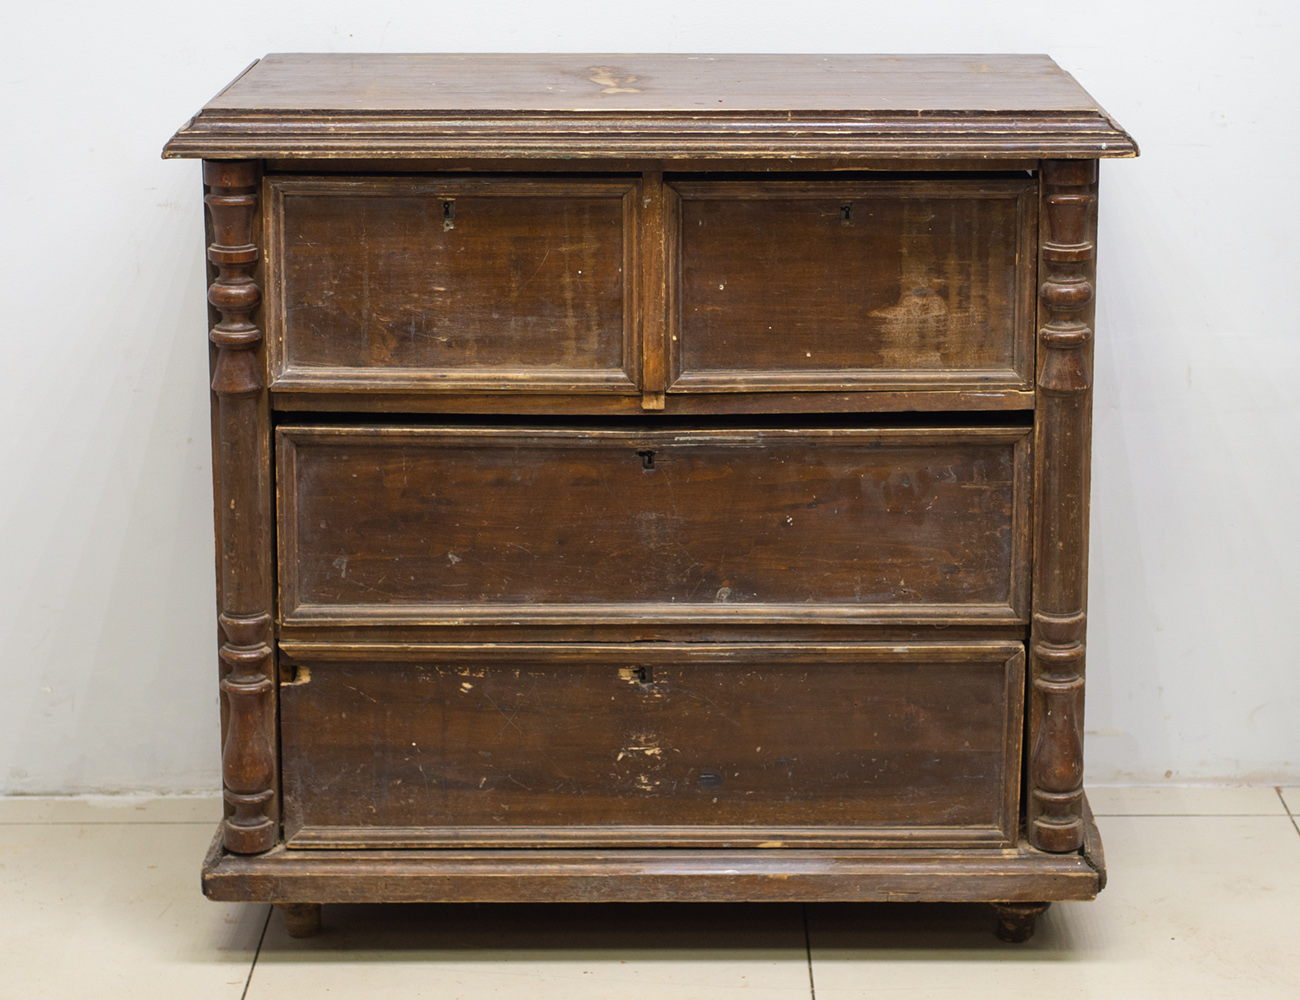
How Can You Refinish Old Wood Furniture?
Refinishing old wood furniture is a rewarding way to breathe new life into tired or outdated pieces.
Whether you’ve inherited a family heirloom, stumbled upon a bargain at a thrift store, or simply want to update your own furniture, refinishing can transform it from dull to dazzling.
In this article, we’ll guide you step-by-step through the process of refinishing old wood furniture, providing tips on preparation, materials, and techniques to ensure a professional-looking finish.
Why Refinish Old Furniture?
Before diving into the “how,” let’s talk about why refinishing is worth considering:
- Cost-Effective: Refinishing old furniture is often more affordable than purchasing new pieces, especially if the furniture is of high quality.
- Sustainability: By refinishing, you’re reducing waste and giving a piece of furniture a second life, which is a more eco-friendly option than discarding and buying new.
- Personalization: Refinishing allows you to customize the look of the piece to suit your style and home decor, whether that means adding a new stain, a different paint color, or a glossy finish.
Now, let’s walk through the refinishing process!
Materials You’ll Need
Before you begin, gather the following supplies:
- Sandpaper (medium and fine grit)
- Orbital sander (optional, but makes the job quicker)
- Wood stripper (if needed to remove old finish)
- Tack cloth (to remove dust)
- Wood stain or paint
- Paintbrushes (high-quality brushes for smooth application)
- Wood finish (polyurethane, varnish, or shellac)
- Gloves, protective goggles, and a mask (for safety)
- Drop cloths or newspaper (to protect your workspace)
Step-by-Step Guide to Refinishing Old Wood Furniture
1. Assess the Condition of the Furniture
The first step in the refinishing process is to examine the furniture closely. Look for any deep gouges, cracks, or damage that may require repair before starting the refinishing process.
If the furniture is structurally sound but just has a worn-out finish, you can skip repairs and move on to sanding.
2. Remove the Old Finish
If your furniture has layers of old varnish, paint, or lacquer, you’ll need to remove it before applying a new finish. There are two primary ways to do this:
- Chemical Stripper: Apply a wood stripper to the surface according to the manufacturer’s instructions. It will dissolve the finish, making it easier to scrape off.
- Sanding: If you prefer a more hands-on approach or want to skip chemicals, sanding will also remove the old finish. Start with medium-grit sandpaper (around 80-grit) and work your way up to finer grits (220-grit) for a smooth surface.
Always work in a well-ventilated area and use protective gear when using chemical strippers or sanding.
3. Repair and Fill Any Imperfections
If you find cracks, holes, or dents, you can fill them with wood filler. Apply the filler with a putty knife and smooth it over the damaged area.
Once dry, sand the filler until it is flush with the surrounding wood. This ensures a smooth and even finish once the furniture is refinished.
4. Sand the Wood Surface
Whether you’ve stripped the old finish or are working with a piece that just needs a light touch-up, sanding is crucial. Sanding opens up the wood’s pores and helps the new finish adhere more effectively.
- Start with medium-grit sandpaper (80 or 100-grit) to remove rough areas.
- Move to fine-grit sandpaper (180 to 220-grit) for a smooth surface.
- Always sand in the direction of the wood grain to avoid scratching.
Use a tack cloth to wipe away any dust after sanding.
5. Staining or Painting the Wood
Once the surface is prepped, you have the option to stain or paint your furniture, depending on the look you desire.
- Staining: Staining will highlight the natural grain of the wood while changing its color. Choose a stain that matches the style of your room or personal preference. Apply the stain with a brush or rag, wiping away excess with a clean cloth. Allow the stain to dry for several hours or as recommended by the manufacturer.
- Painting: If you prefer a more solid, modern look, you can paint your furniture. Use a high-quality primer to ensure good coverage, followed by a paint designed for wood surfaces. Apply thin coats and allow each coat to dry before applying the next. A light sanding between coats will ensure a smooth finish.
6. Apply a Protective Finish
Once your furniture is stained or painted to your satisfaction, the final step is to apply a protective finish. This step is crucial to ensure durability and to prevent future wear and tear. Common finishes include:
- Polyurethane: Provides a hard, durable surface and is available in both glossy and matte finishes.
- Varnish: Offers a warm, natural glow, ideal for wooden furniture that you want to keep looking classic.
- Shellac: Creates a shiny finish but may not be as durable as polyurethane for high-traffic areas.
Apply the finish with a clean brush, following the grain of the wood. Be sure to let it dry fully between coats, and lightly sand between each coat with fine-grit sandpaper (220-grit) to smooth any imperfections.
7. Final Touches
Once the finish is completely dry and cured (this can take up to 24 hours), your furniture is ready for use.
Consider adding new hardware, such as knobs or handles, if you’re updating a dresser or cabinet. This simple step can add a modern or vintage touch, depending on the style you’re going for.
Tips for a Successful Refinishing Project
- Take Your Time: Refinishing can be a time-consuming process, but the results are well worth it. Don’t rush any steps, especially sanding and drying.
- Test on a Small Area: Before applying stain or paint to the entire piece, test it on a small, inconspicuous area to ensure you’re happy with the color and finish.
- Use Quality Products: Invest in high-quality sandpaper, stain, paint, and finish to ensure the best results. Cheap materials can lead to an uneven finish and shorter-lasting results.
- Ventilation is Key: Always work in a well-ventilated area, especially when using chemical strippers or finishes that emit fumes.

Conclusion
Refinishing old wood furniture is an excellent way to restore a piece’s beauty and functionality without breaking the bank.
With the right tools, patience, and attention to detail, you can transform worn-out furniture into a stunning focal point in your home.
Whether you choose to stain or paint, adding a protective finish will ensure that your newly refinished furniture lasts for years to come.
So, roll up your sleeves, gather your materials, and enjoy the satisfaction of giving old wood furniture a second chance to shine.

Leave a Reply